Before you begin
You’ll need:- A CaptrID account (sign up at app.captrid.com)
- Optionally, a list of people (CSV file or you can enter them manually)
- At least one person with the mobile app installed to capture photos
Step 1: Set up your roster
You have two options for getting people into CaptrID:Option A: Create a Master List (recommended)
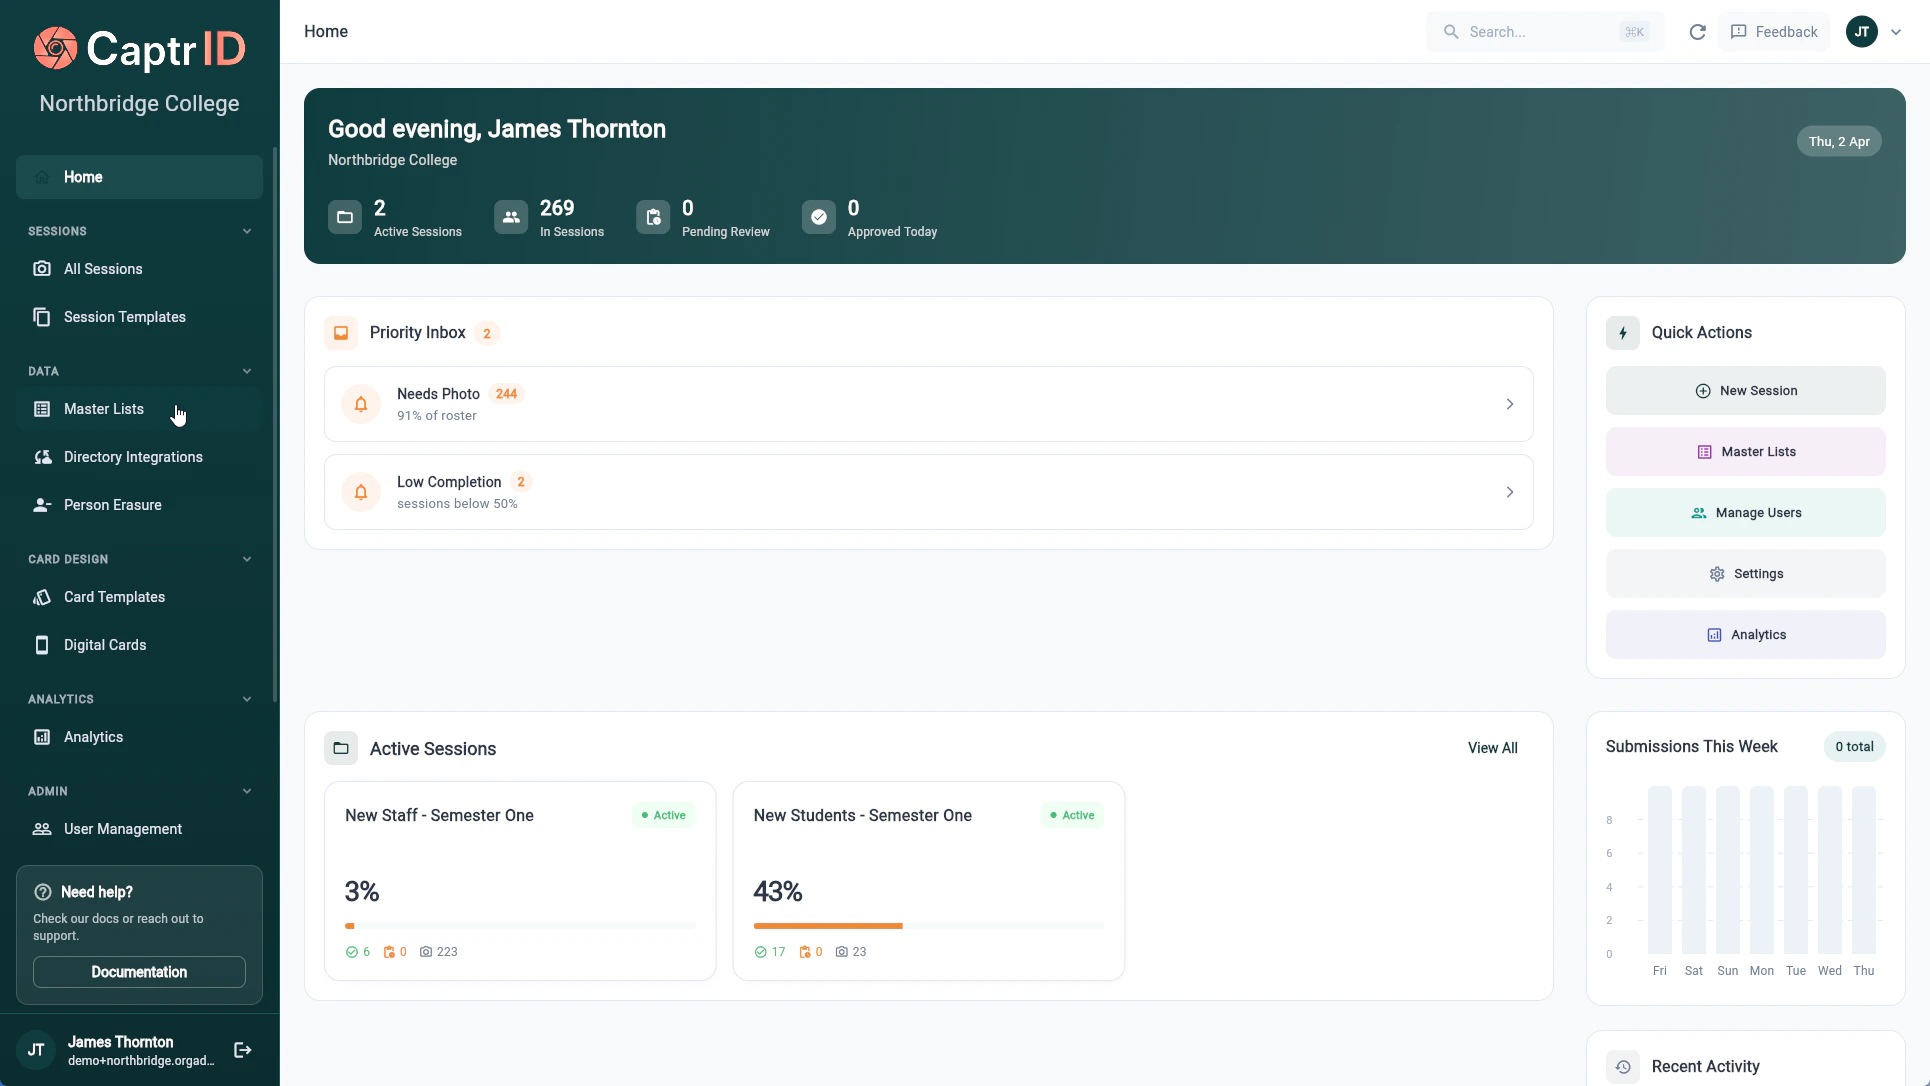
A Master List is your organisation’s central roster — create it once and reuse it across multiple sessions.- From the sidebar, click Master Lists
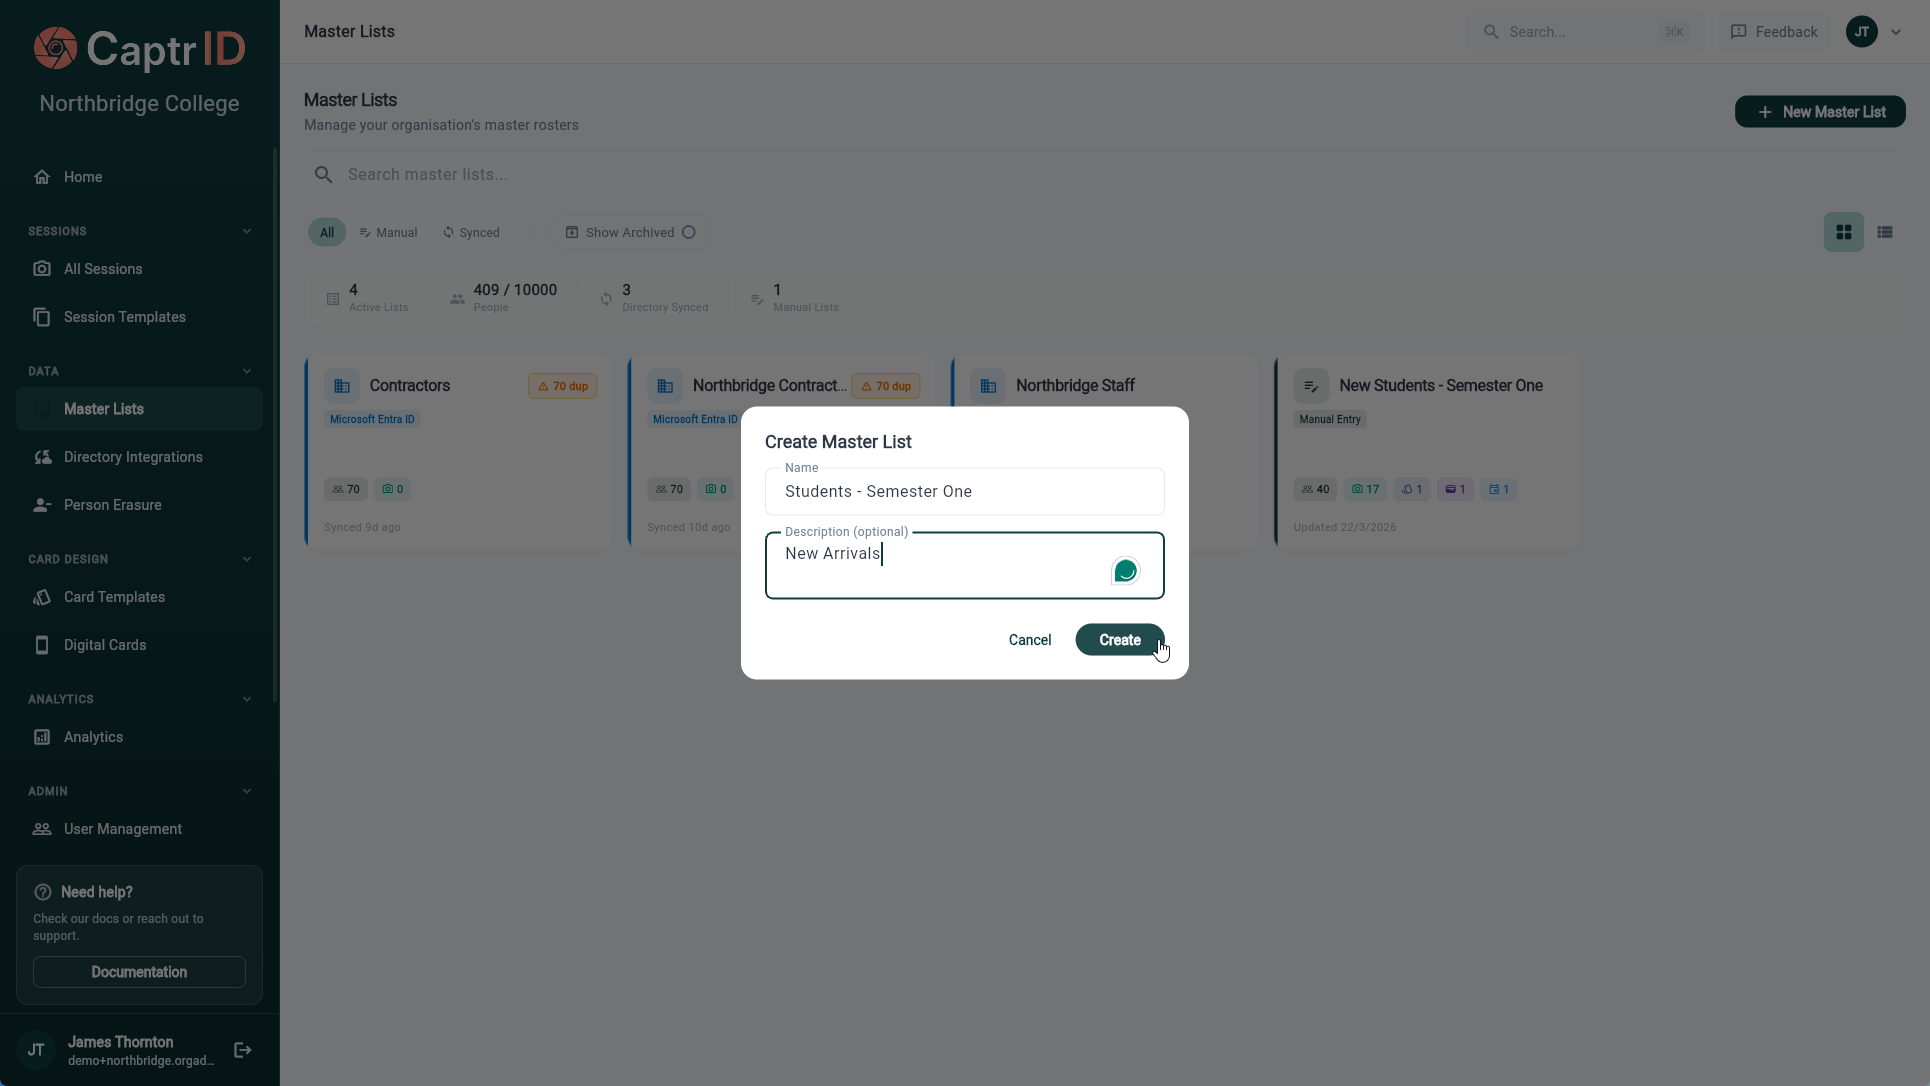
- Click Create Master List — this opens the creation wizard
- Choose your source — select how you want to populate the list:
- CSV Import — upload a spreadsheet with your people data
- Directory Integration — sync from Microsoft Entra ID (if configured)
- Manual Entry — start with an empty list and add people yourself
- Configure your source (skipped for Manual Entry):
- For CSV: select your file, choose which column is the UID (unique identifier), and select which columns to import
- For Directory: select your connection and optionally choose a group to sync
- Enter details — give your list a name (e.g. “Staff 2026” or “Students Term 1”) and an optional description
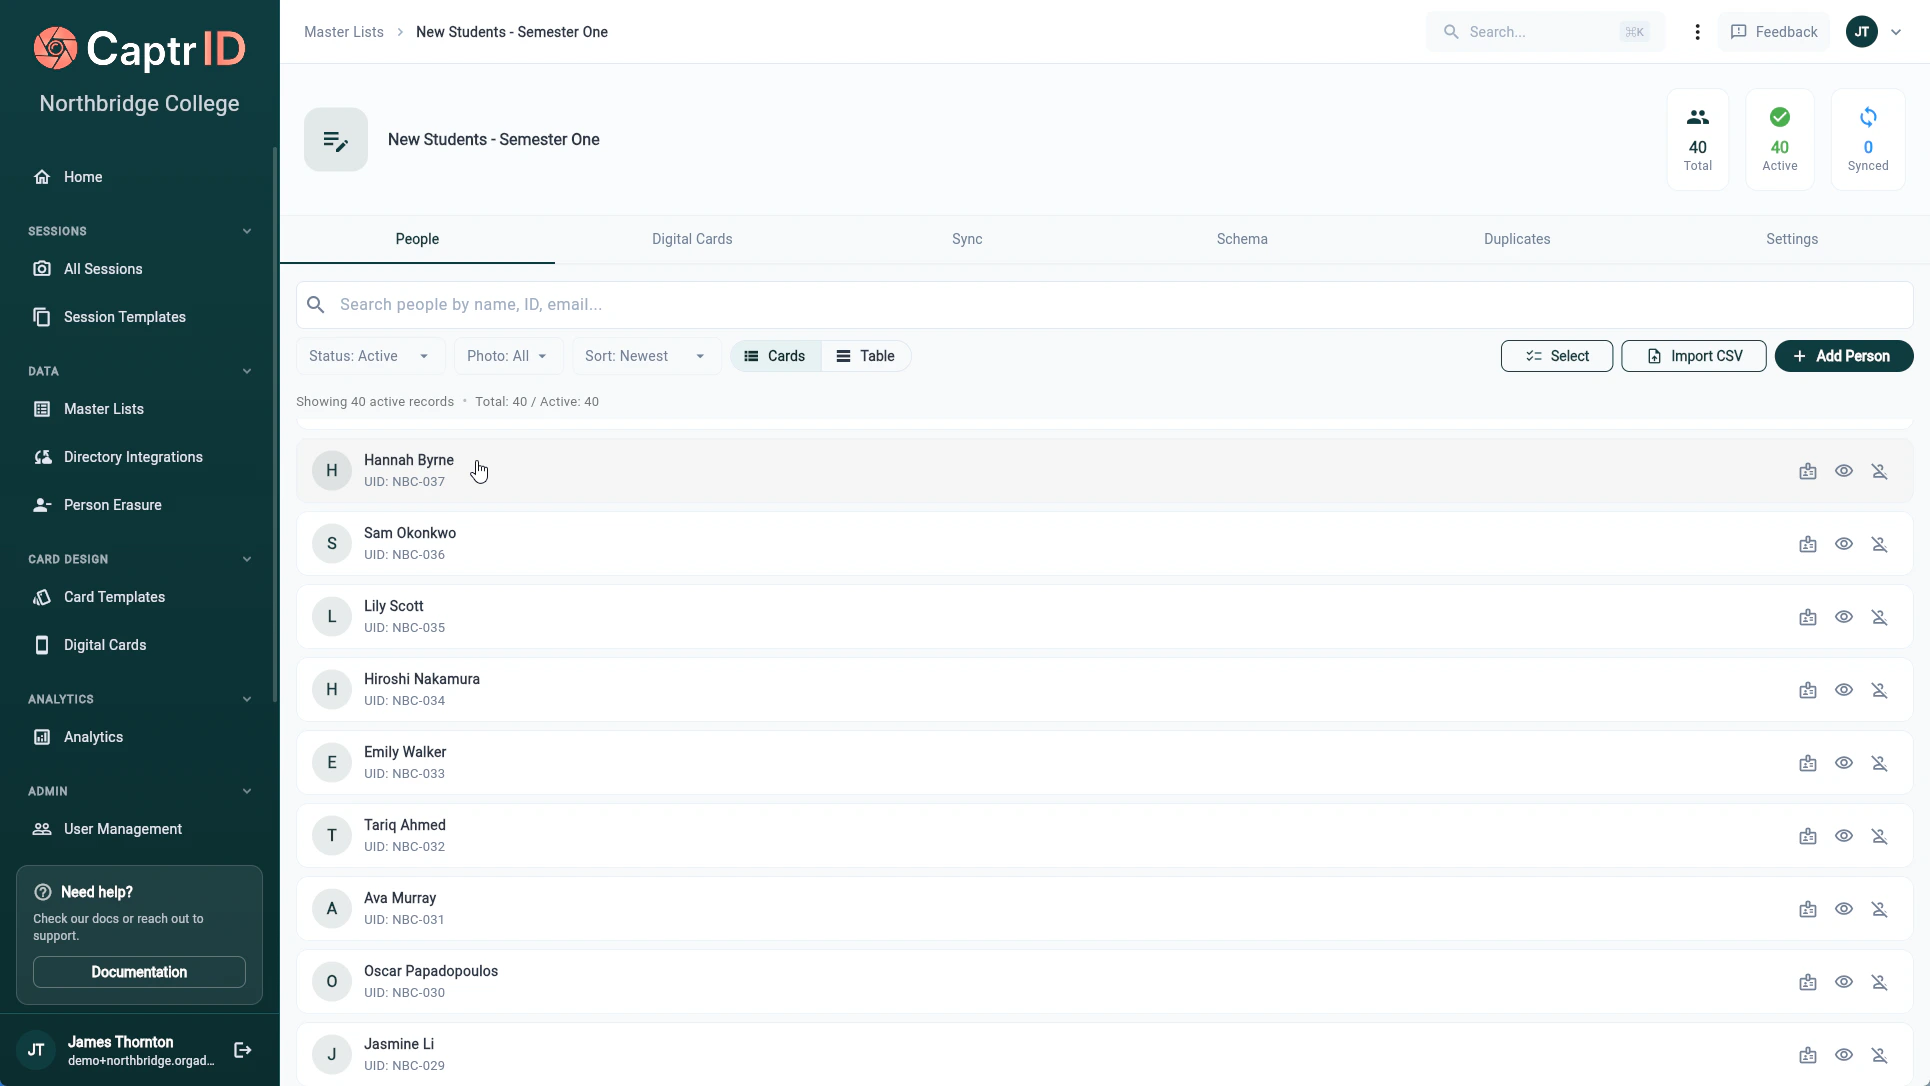
- Click Create List
Option B: Start with a standalone session
If you don’t have an existing roster, you can skip the Master List and create a session directly. People can be added manually or imported via CSV during session setup. This is a good option for one-off events or when you’re just getting started.Step 2: Create a Session
A Session is a time-bound capture event — like “Photo Day 2026”, “New Starter Headshots”, or “Contact Details Update”.- From the sidebar, click All Sessions
- Click Create Session
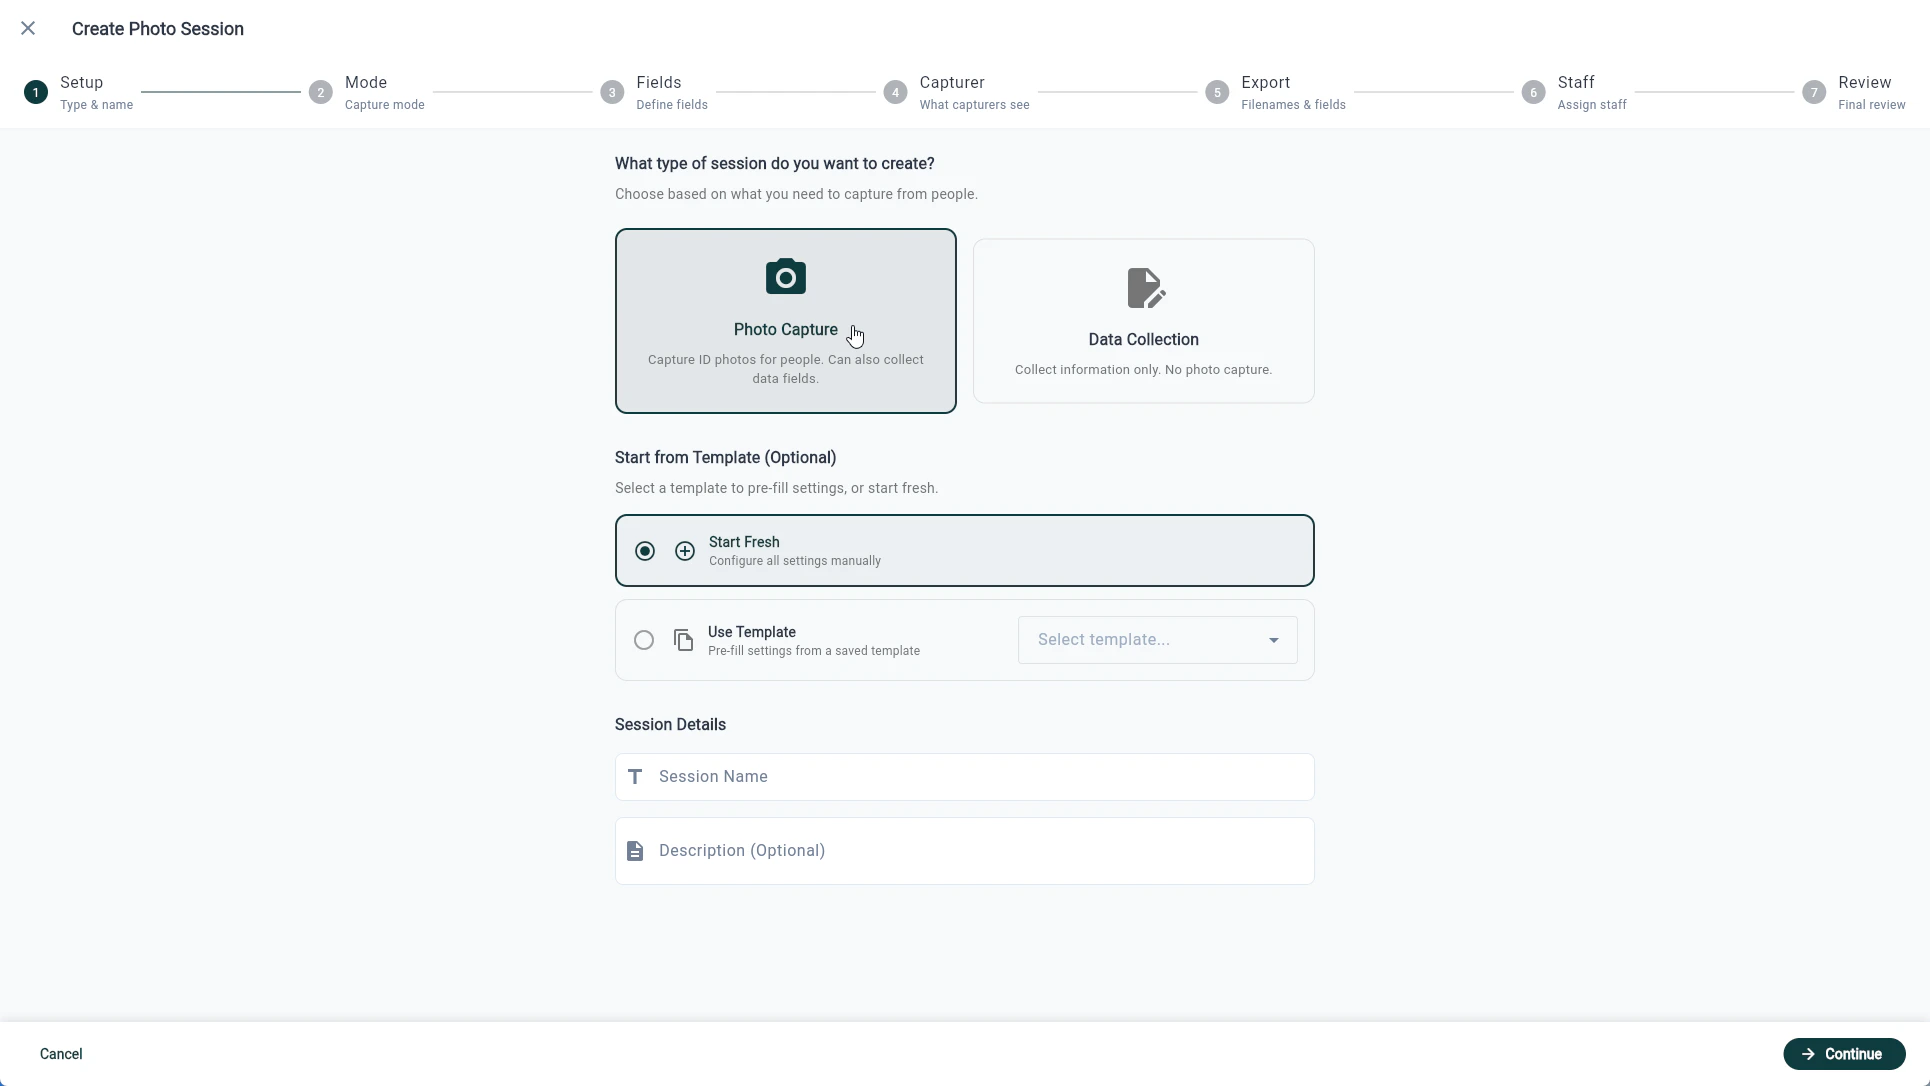
- The Session Wizard guides you through configuration:
- Type: Choose “Photo” for photo capture or “Data” for data collection
- Name: Give it a clear name (e.g. “Staff Photo Day — March 2026”)
- Roster source: Select your Master List, import a CSV, or start with an empty roster
- Fields: Configure which fields capturers can see and edit
- Staff: Assign capturers (see Step 3)
- Click Create Session
When you create a session from a Master List, CaptrID takes a snapshot — a point-in-time copy. Changes in the session don’t affect your Master List until you explicitly sync them back.
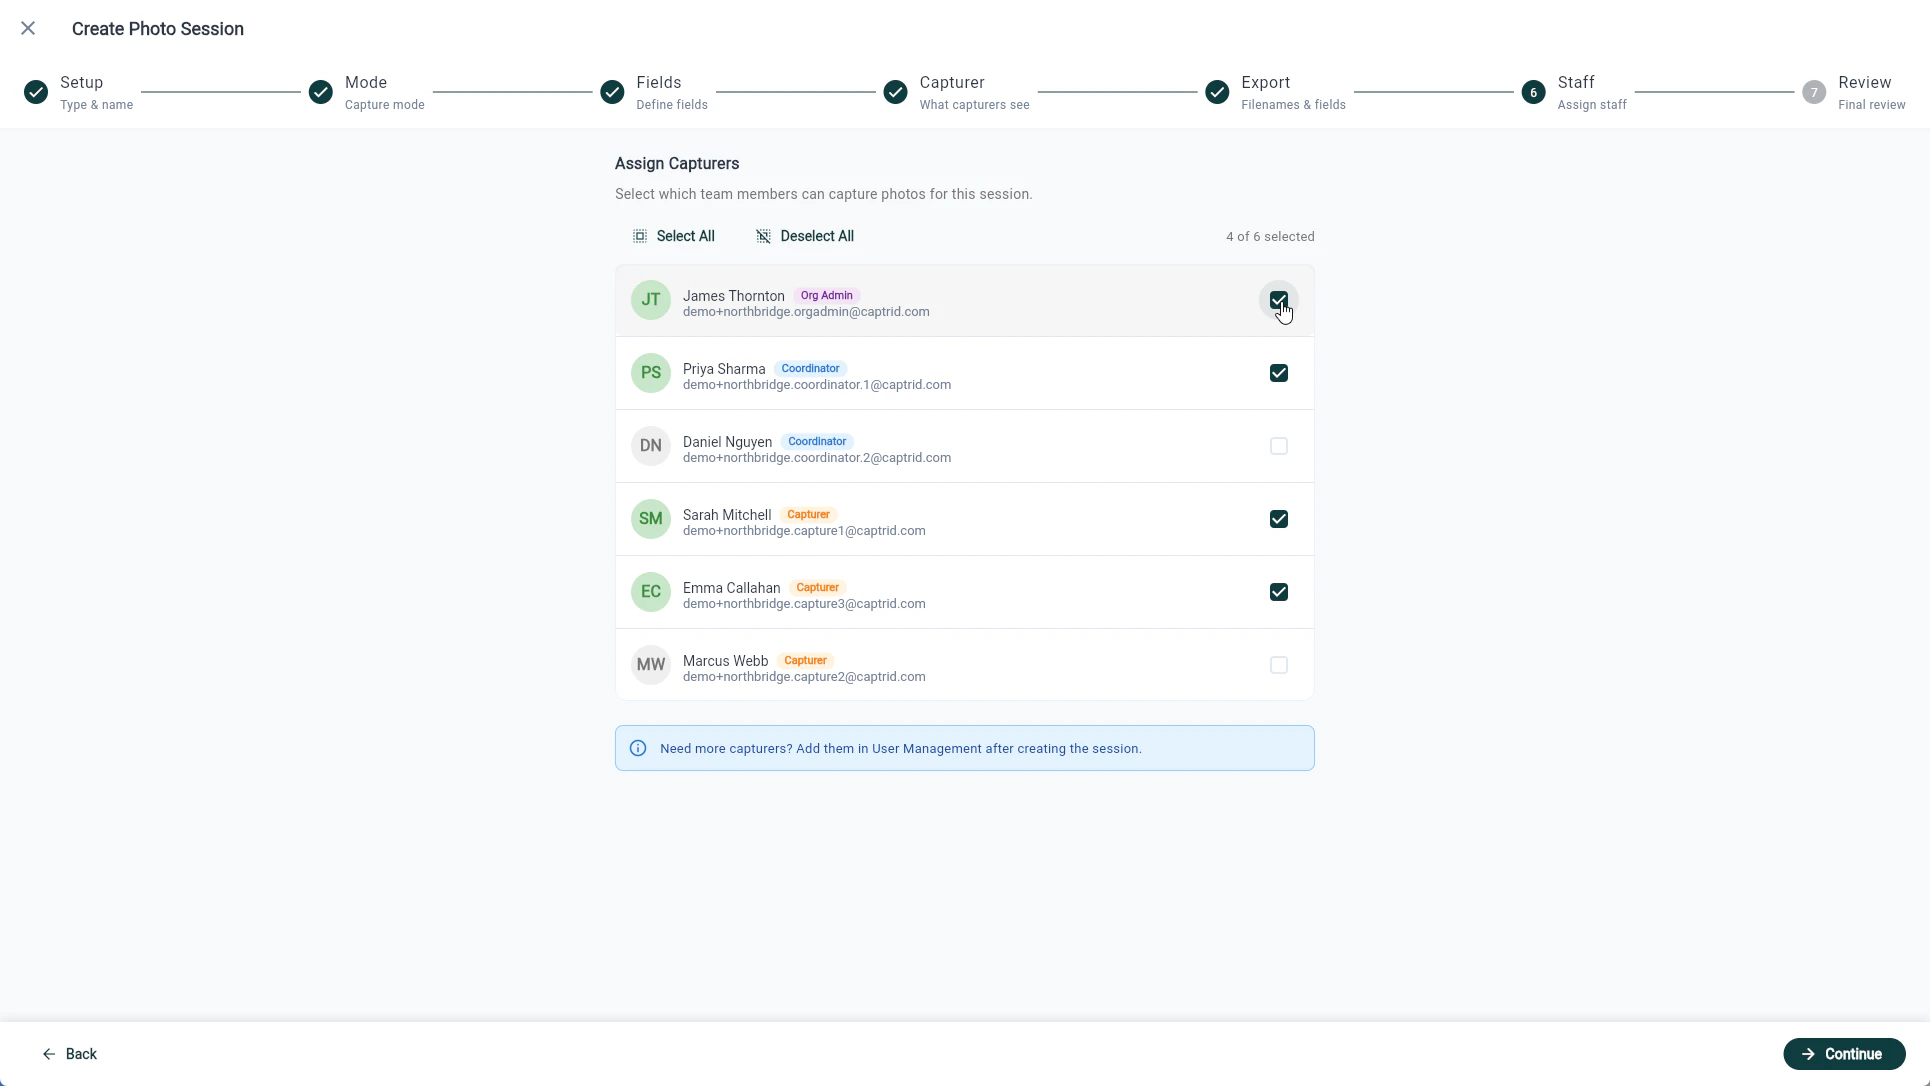
Step 3: Assign capturers
Capturers are the people who will use the mobile app to take photos. They need to be invited to your organisation and assigned to the session.- If they don’t have an account yet, go to User Management and invite them by email
- In your session, go to the Staff tab
- Search for and assign your capturers
- They’ll receive an email notification and see the session in their mobile app
Capturers can only see sessions they’re assigned to. They use the mobile app — they don’t need access to the admin portal.
Step 4: Capture photos
This step happens on the mobile app (iOS or Android).- Capturers open the CaptrID app and sign in
- They select the session from their home screen
- They choose a person from the roster
- They take a photo using the in-app camera or choose from their gallery
- The app validates the image (resolution, lighting, blur, face detection)
- They submit the photo — it uploads immediately or queues for later if offline
Step 5: Review and export
Back in the admin portal:- Open your session and go to the Submissions tab
- You’ll see all submitted photos with their status
- For each photo, you can:
- Approve — Mark it as the accepted photo for that person
- Reject — Send it back with a reason (the capturer is notified)
- Request retake — Ask for a new photo with specific notes
- Once you’ve reviewed photos, go to the Export tab to download:
- CSV with all person data and photo references
- ZIP with renamed photo files using your filename template
Only one photo per person can be approved at a time. Approving a new photo automatically supersedes the previous one.
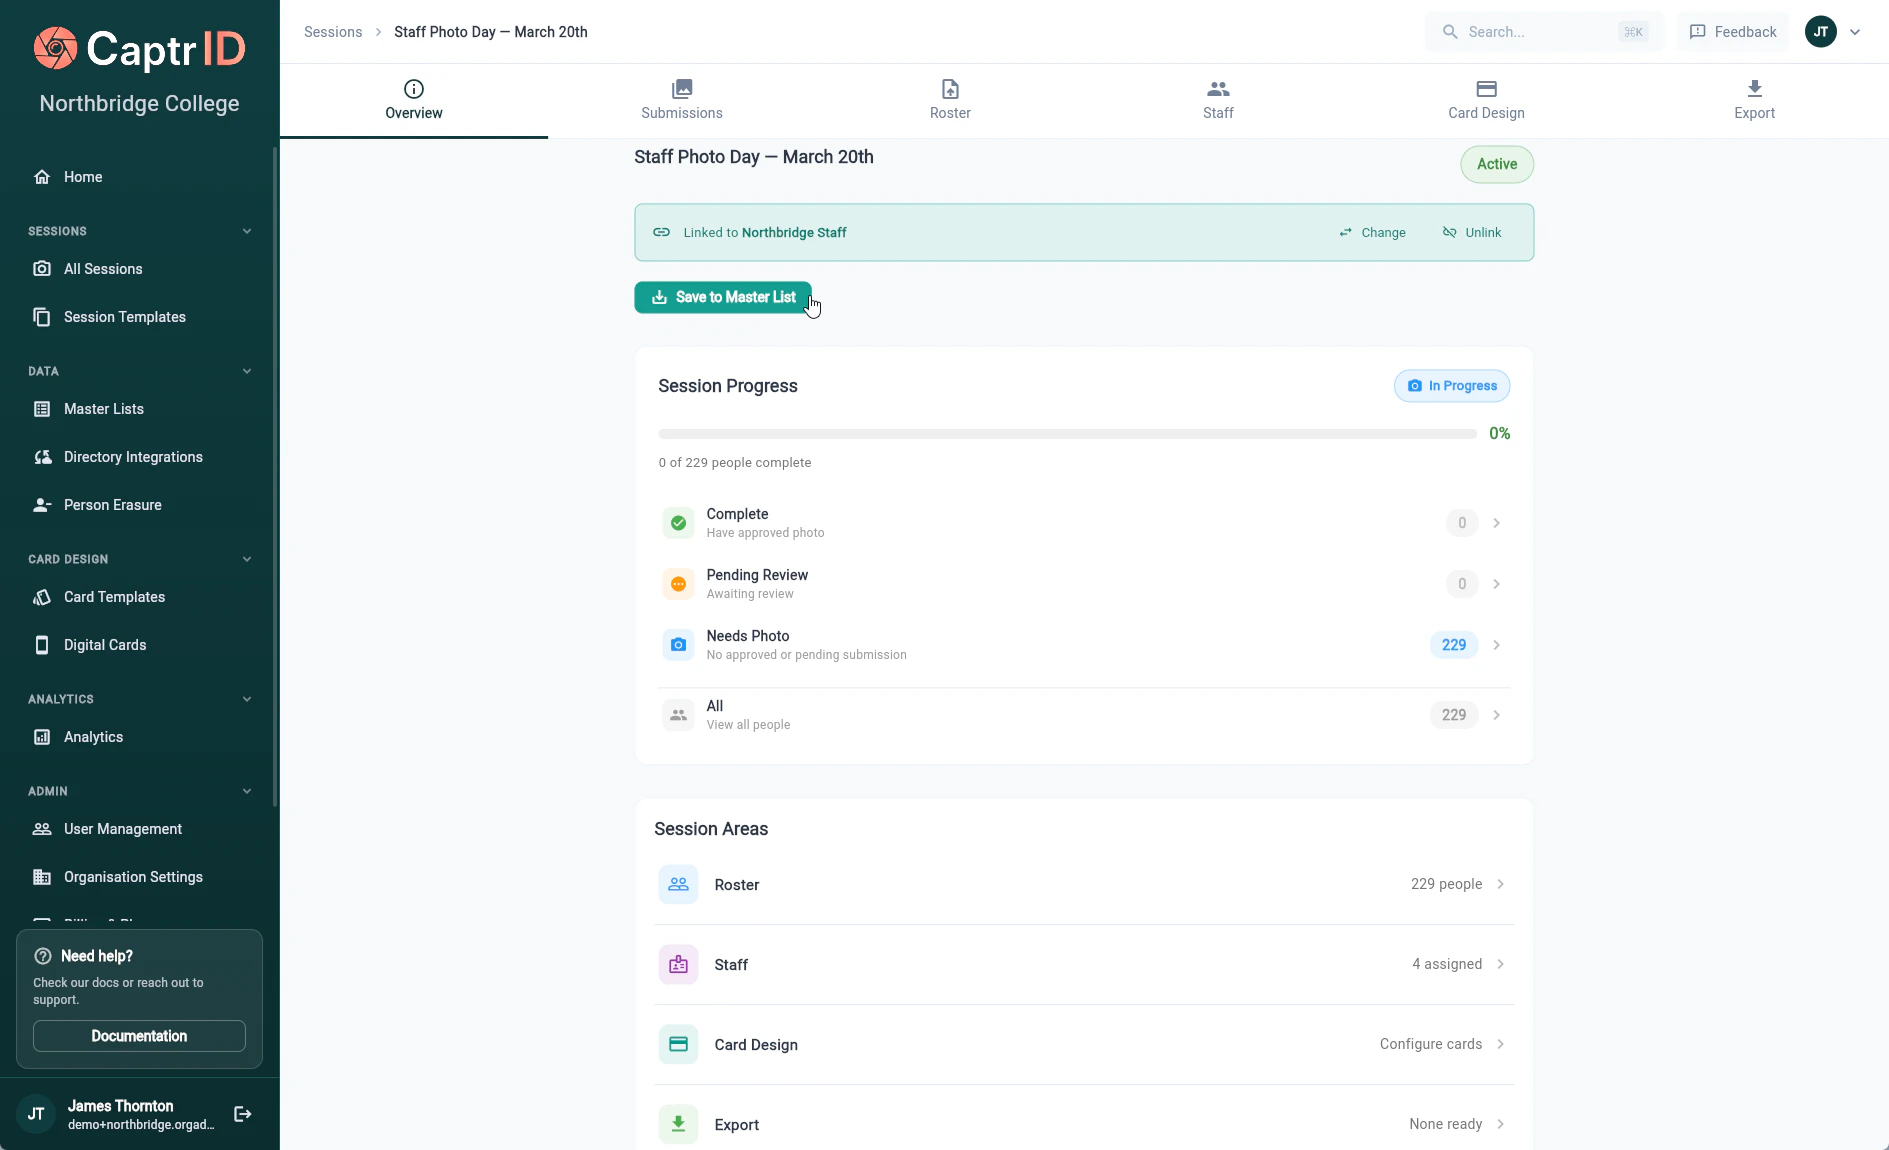
What’s next?
Save to Master List
Push approved photos and data changes back to your Master List for safekeeping.
Print ID cards
Design card templates and print professional ID cards from your session or Master List.
Digital ID Cards
Issue Google Wallet IDs to your people — no app required for recipients.
Self-Service Upload
Let remote staff upload their own photo via a secure link — no app needed.