Where to start
You can open the Print Wizard from two places:| Source | How to open | Best for |
|---|---|---|
| Session | Open a session → Card Design tab → Print Cards | Printing cards for a specific photo day or event |
| Master List | Open a Master List → Print Cards button | Printing or reprinting cards from your central roster |
Step 1: Choose a template
The wizard shows templates that are compatible with your data source — meaning their variable fields match (or can be mapped to) the fields in your session or Master List.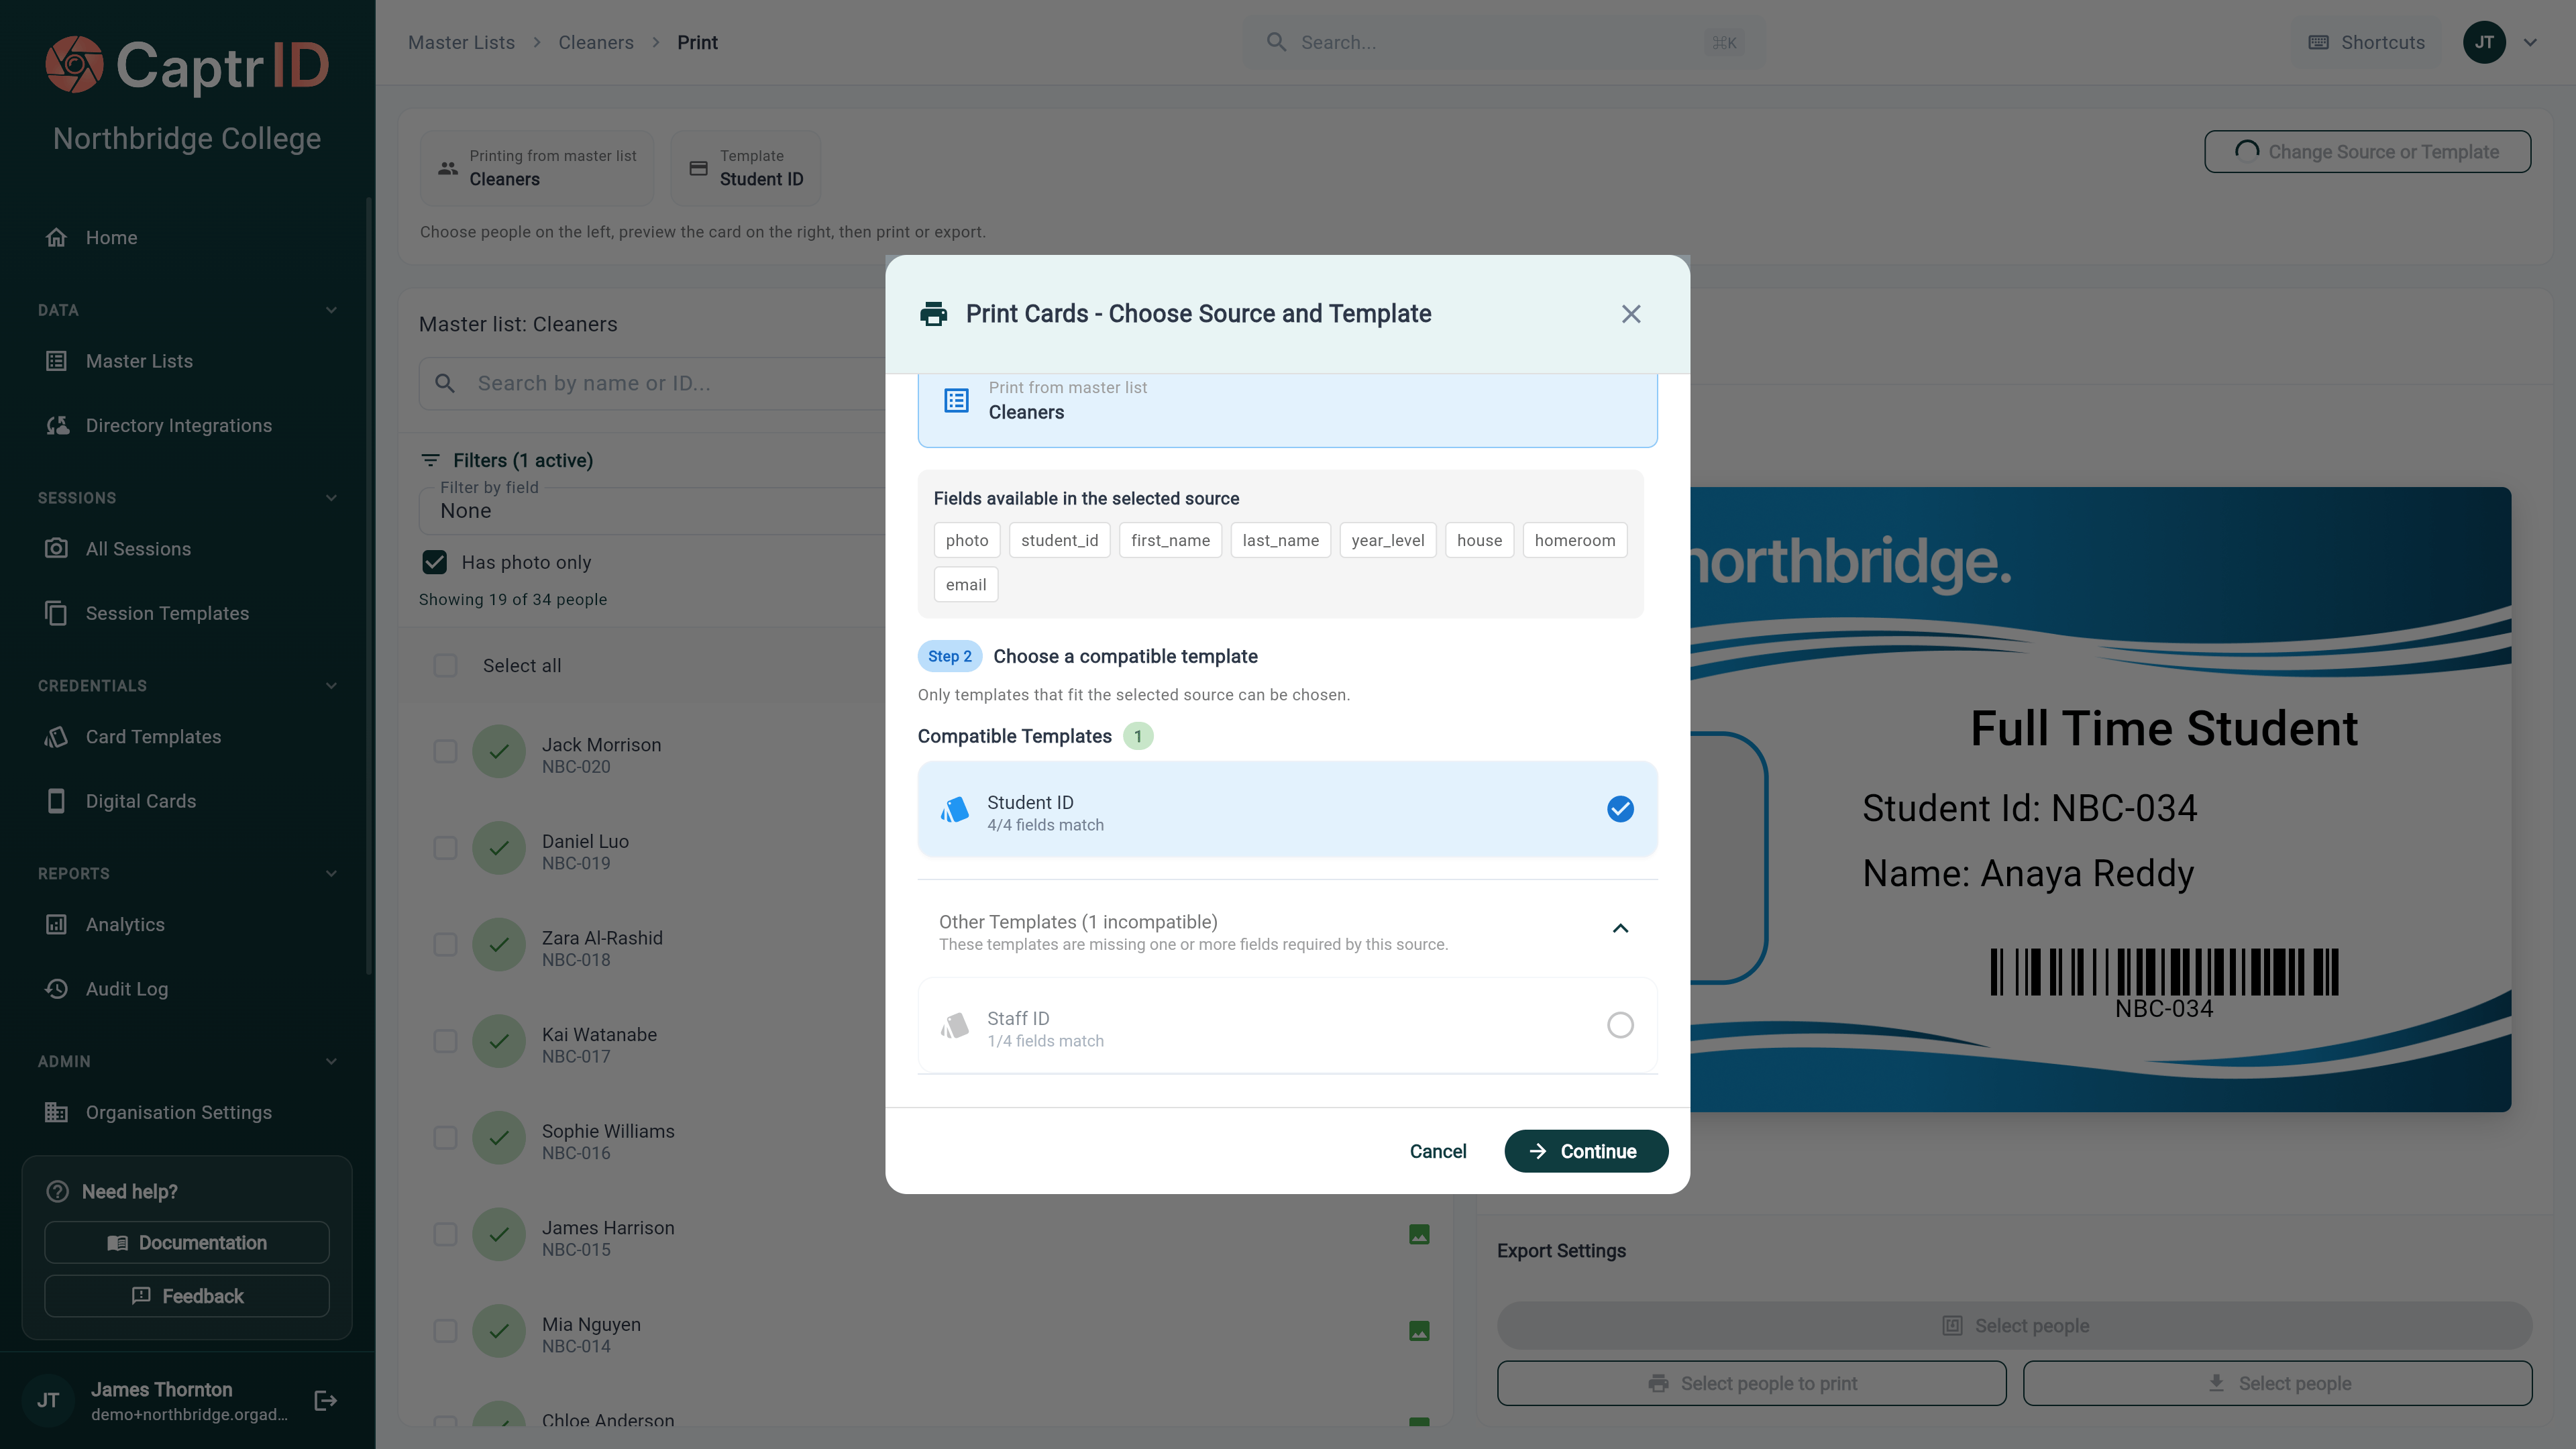
- Session templates linked to this session appear first
- Organisation templates that match your fields appear below
- Templates with missing field matches are filtered out automatically
Step 2: Map fields
If the template’s variable names don’t exactly match your data fields, the wizard asks you to map them. For each template variable, choose which data field should fill it:| Template variable | Mapped to |
|---|---|
{{first_name}} | First Name |
{{last_name}} | Last Name |
{{student_id}} | Student ID |
{{year_level}} | Year Level |
Step 3: Select people
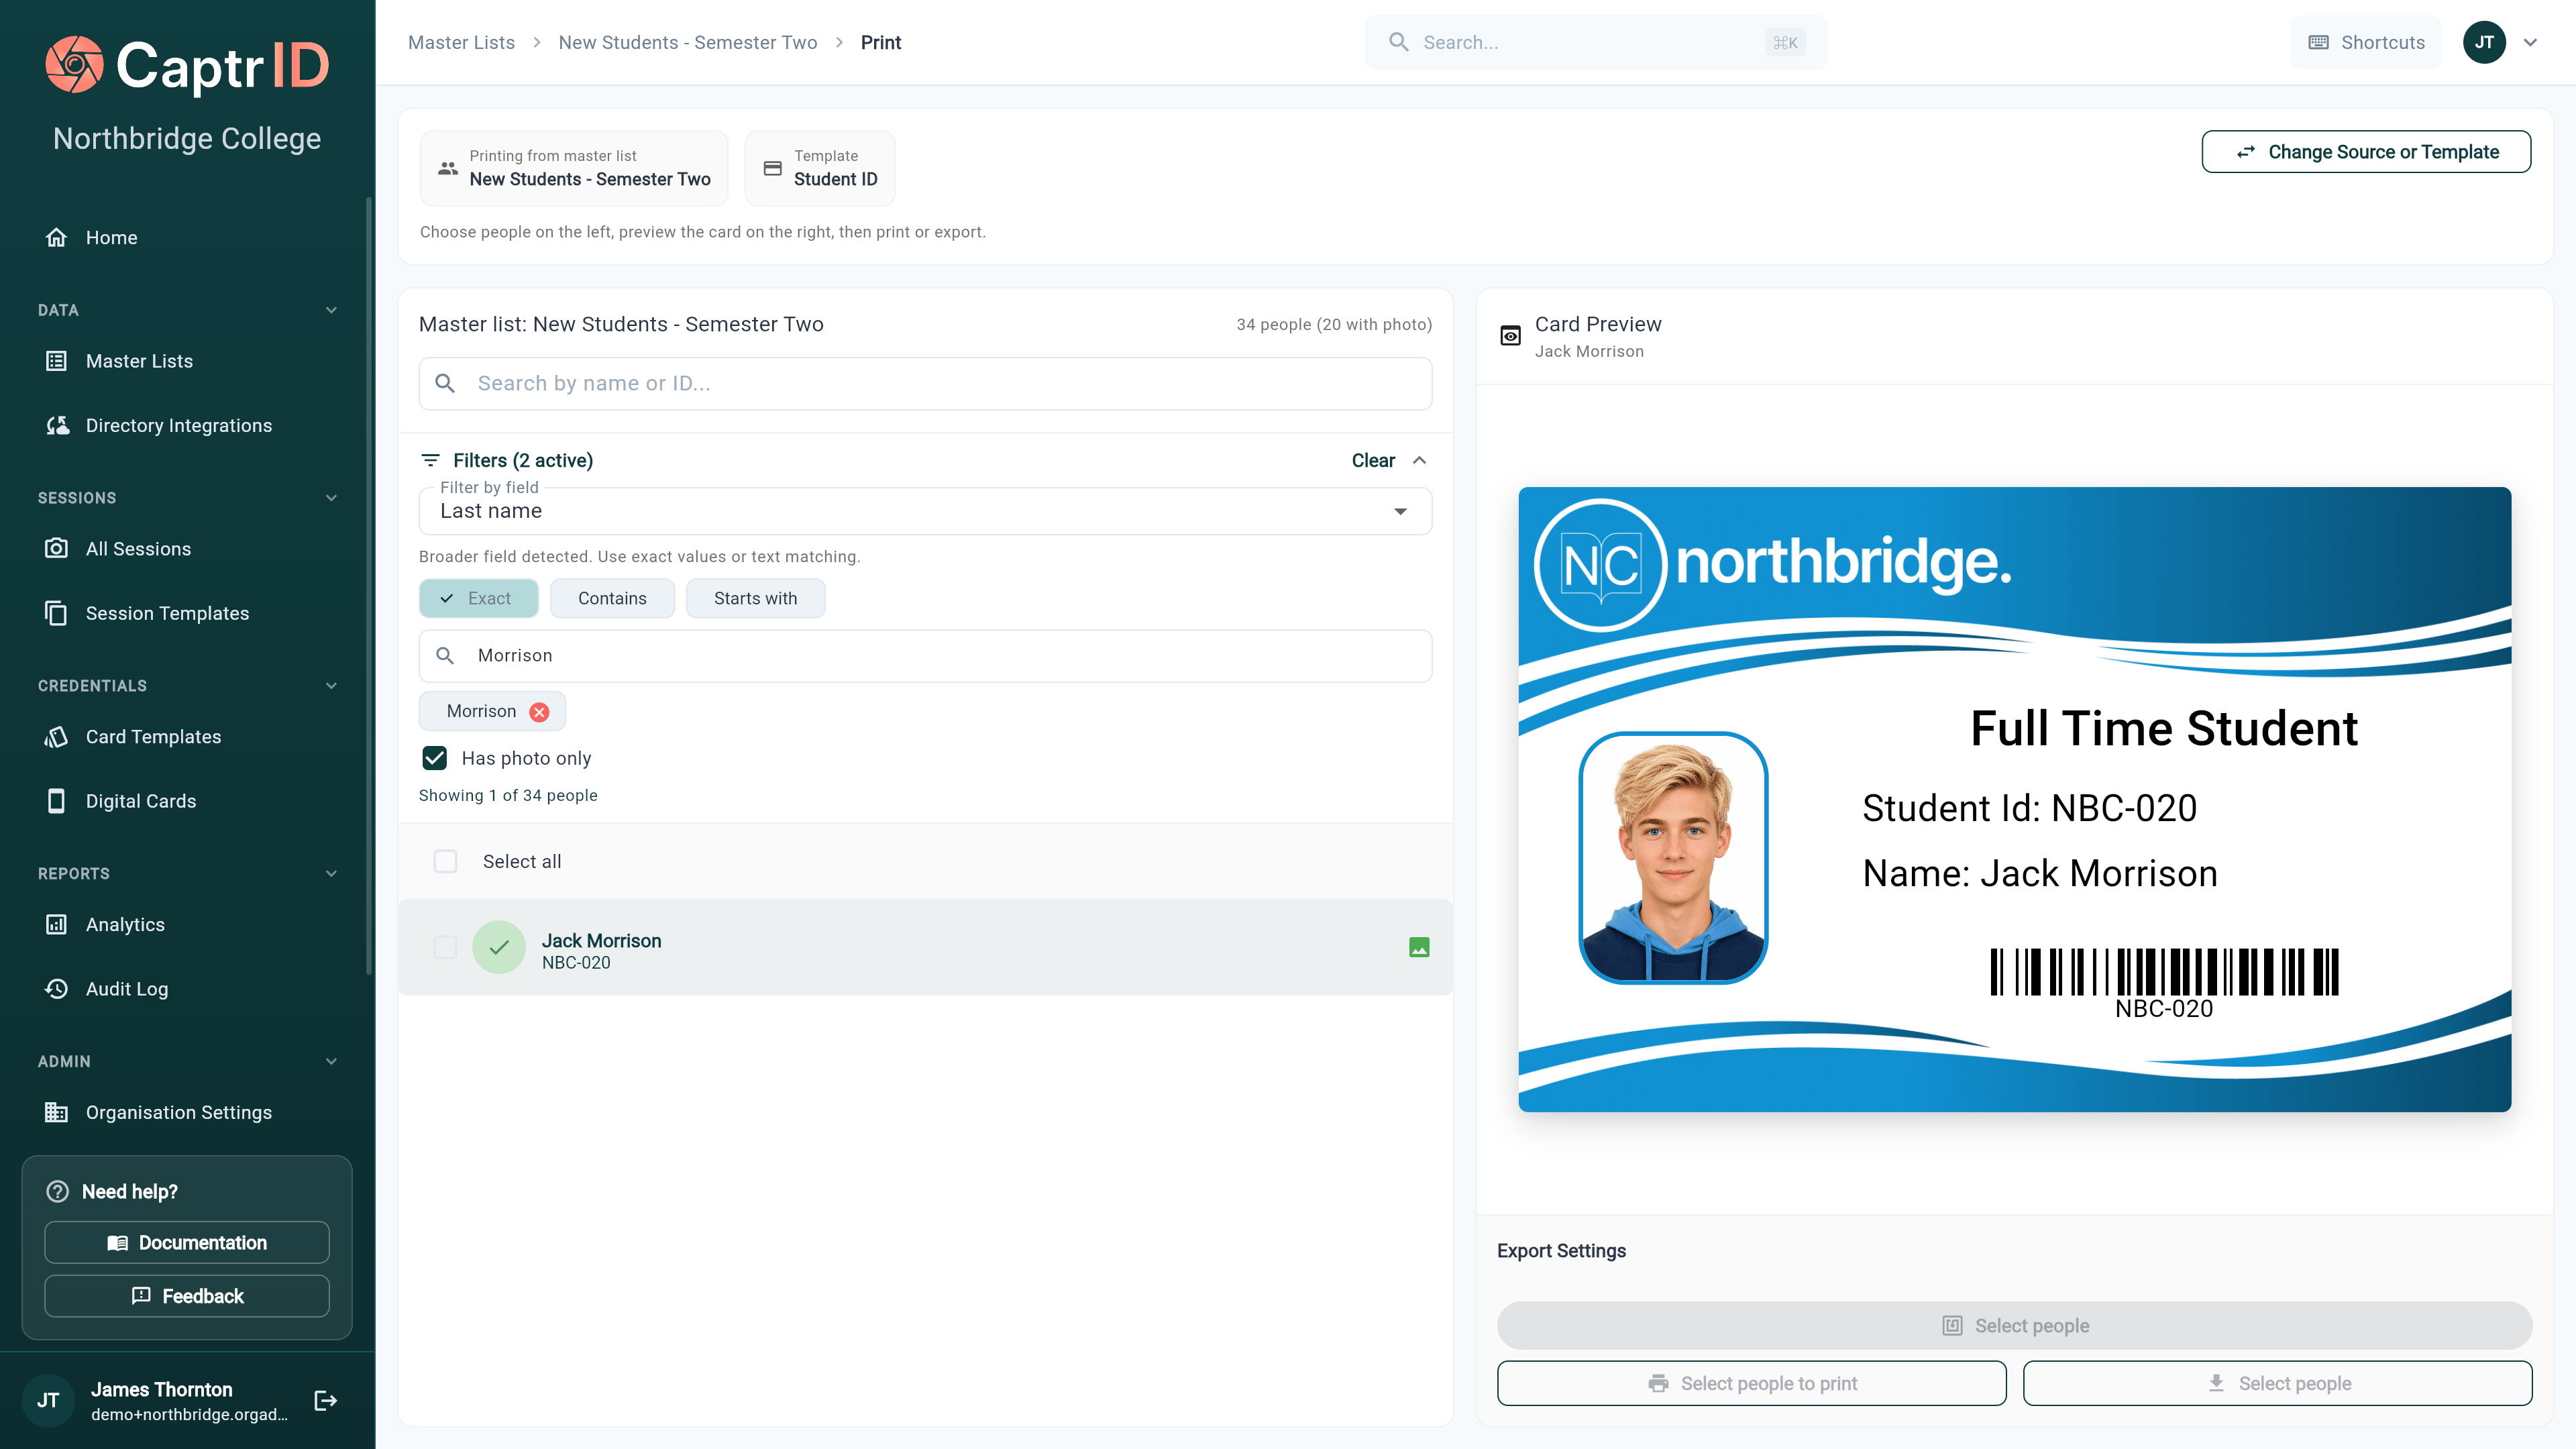
The wizard shows a list of people from your session or Master List. You can:- Search by name or UID
- Filter by field values (e.g. year level, department)
- Select all or pick individuals
- Check print readiness — people missing a photo or required fields are flagged
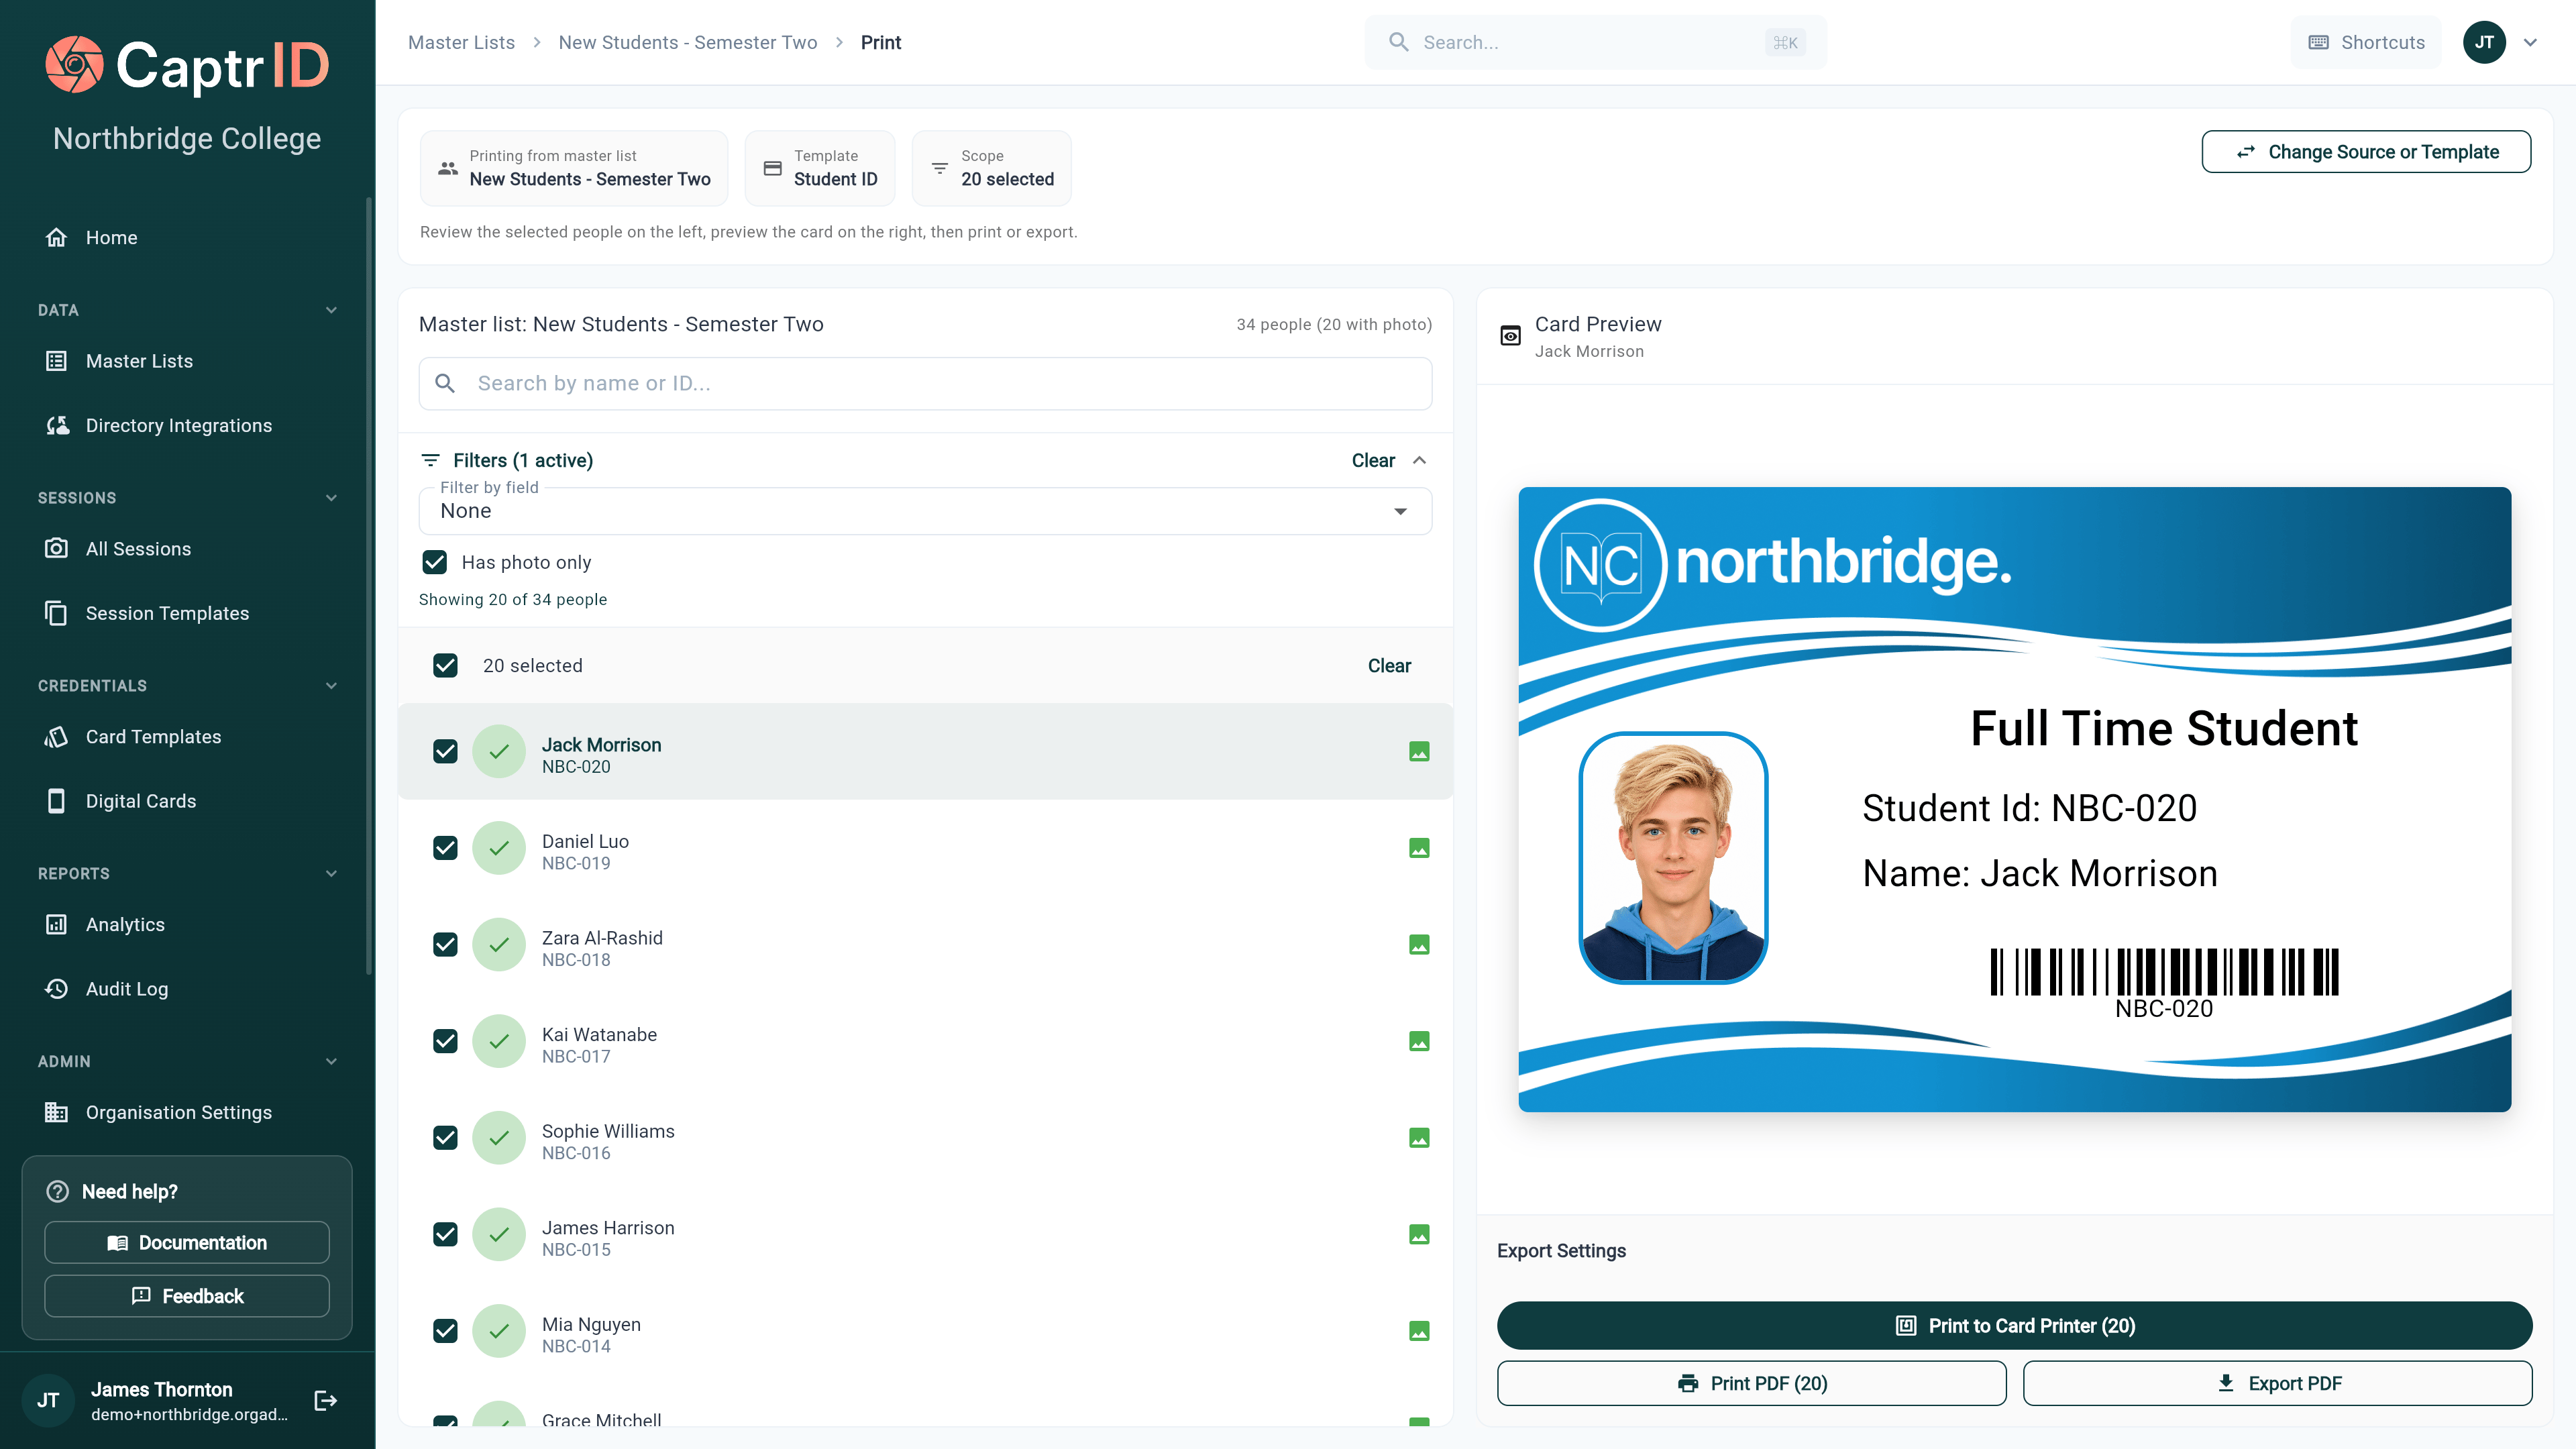
Only people with an approved photo can be printed. If someone is missing a photo, they’ll appear in the list with a warning but won’t be included in the PDF.
Step 4: Preview
Before exporting, you can preview how each card will look with real data. The preview shows:- Front of the card (and back, if it’s a dual-sided template)
- The person’s photo, name, and mapped field values
- Any missing fields highlighted
Step 5: Export PDF
Click Export PDF to generate a print-ready file. The PDF arranges cards according to your template’s page setup — typically multiple cards per A4 or letter-size page with crop marks. For dual-sided templates, the PDF interleaves front and back pages so you can print double-sided.Large batches
For batches over 200 cards, the PDF may take a moment to generate. The wizard shows a progress indicator and the file downloads automatically when ready.Printing tips
What printer and card stock should I use?
What printer and card stock should I use?
CaptrID exports standard PDF files — you can print on any printer. For professional-quality ID cards, use a dedicated ID card printer (CR-80 format) with PVC card stock. For paper-based cards, any colour laser printer works well with heavy card stock.
How do I print double-sided cards?
How do I print double-sided cards?
If your template has a back design, the PDF alternates front and back pages. Use your printer’s duplex (double-sided) setting, or print fronts first, then flip the stack and print backs.
Can I reprint a single card?
Can I reprint a single card?
Yes. Open the Print Wizard, select just the person you need to reprint, and export. You don’t need to reprint the entire batch.
The photo looks cropped or stretched
The photo looks cropped or stretched
Card templates expect photos in a specific aspect ratio (usually 3:4 portrait). If the source photo has a different ratio, it may be cropped to fit. You can adjust the photo placeholder size in the Card Template Designer.
What’s next?
Creating Card Templates
Design card layouts with the drag-and-drop template editor.
Digital ID Cards
Issue Google Wallet IDs instead of (or alongside) physical cards.